Getting started
Arvixe is a web host provider with reliable hosting for Known. Visit the Arvixe Known hosting page to sign up for an Arvixe hosting account that meets the Known platform requirements.
During the account creation process, you'll be able to buy a domain name for your site or add in details for a domain that you already own.
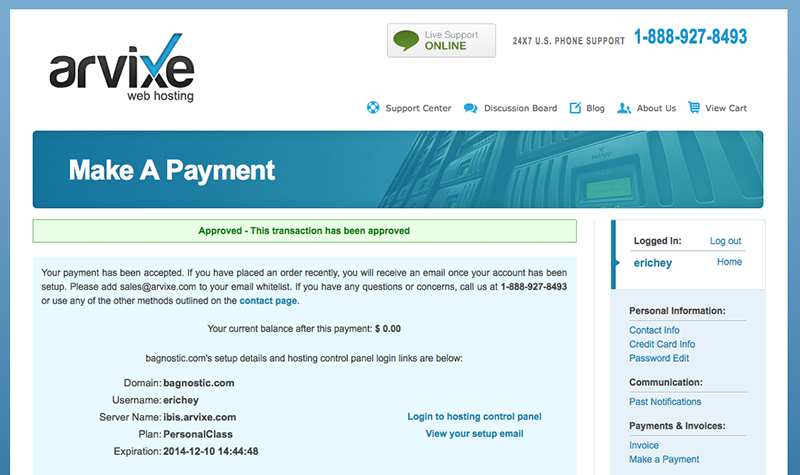
Once you have an account, navigate to your site's CPanel. You should have received an email from Arvixe with account details, including the CPanel address. Your site's CPanel might be found at http://cpanel.yourawesomesite.com.
Setting PHP 5.4
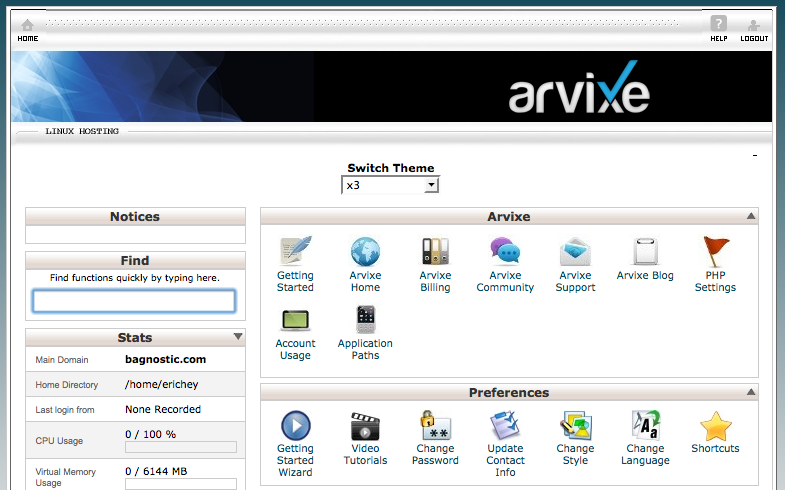
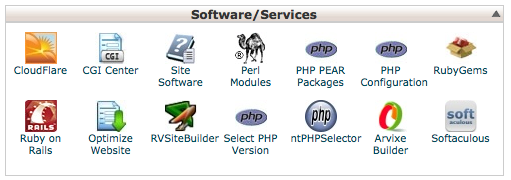
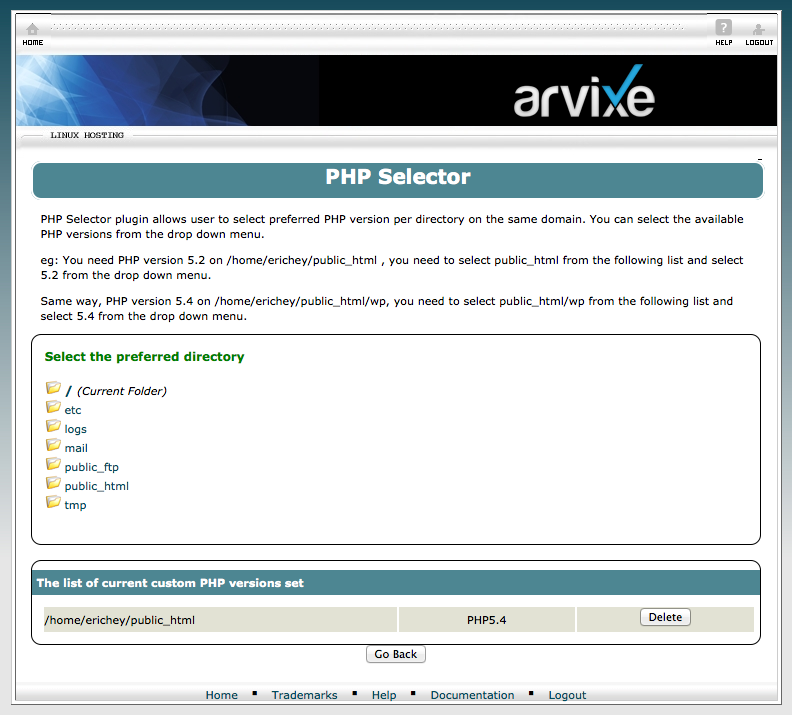
Once you're in the CPanel, navigate to ntPHPSelector.
From the folder list there, choose public_html.
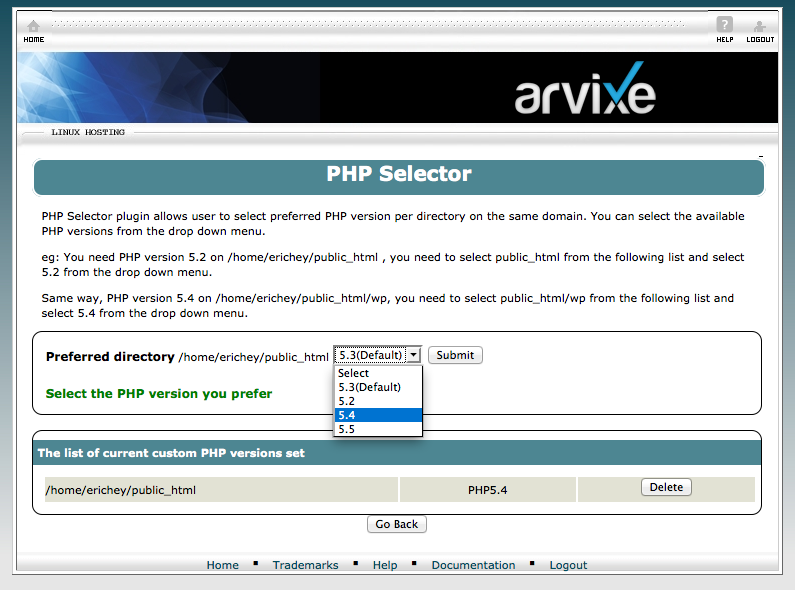
Then select PHP 5.4 from the choices near Preferred directory.
Next, go back to the CPanel main screen.
Uploading the files
In order to install Known, you'll need the latest package of the software. You can download the latest release of Known from the Known open source page.
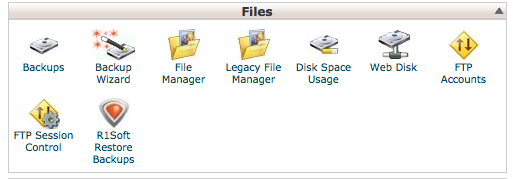
In the CPanel of your site, navigate to "File Manager" under "Files."
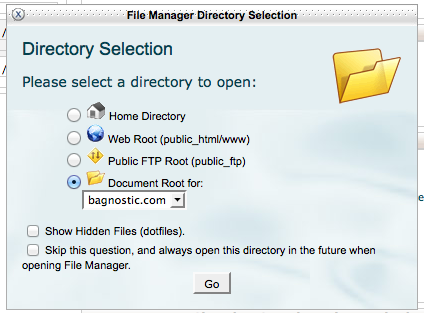
Choose "Document Root" for your domain.
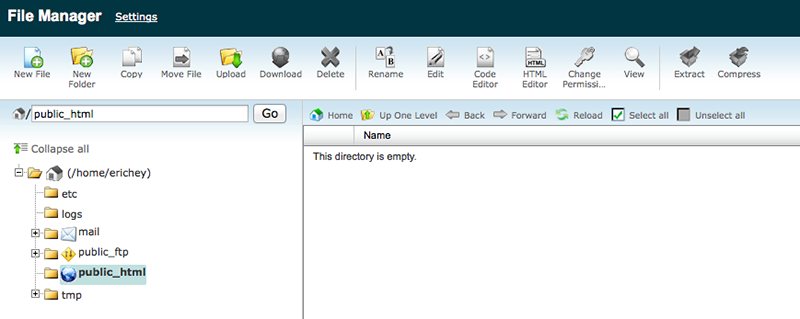
You should now see a screen that says, "This directory is empty."
Click the "upload" icon.
From the upload screen, browse and find the ZIP file for the Known package that you just downloaded from our site.
Select the ZIP file, and then let it upload. There should be a status indicator in the lower right corner of your screen showing the upload progress.

Once the upload is complete, navigate back using the link in the middle of the screen.
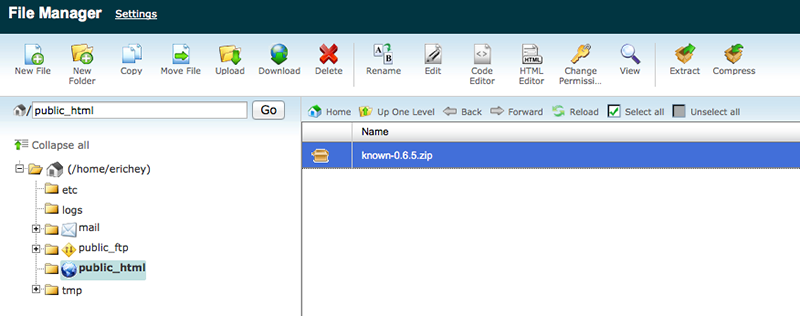
You should now see your Known package in the public-html folder.
Click on the package. Then select the "Extract" option.
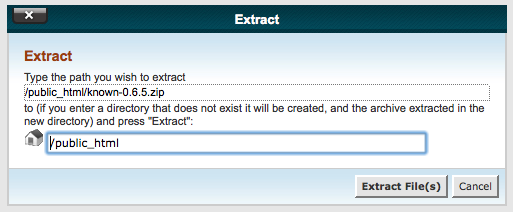
Extract the package to the public_html directory.
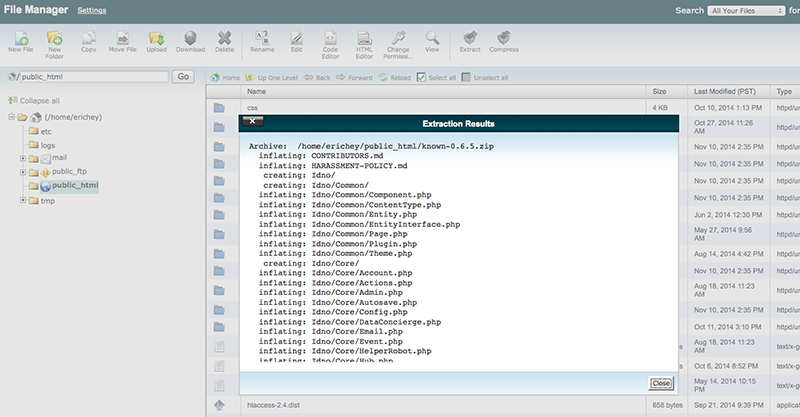
When the package is done extracting, there should be a window with some extraction results. Your public_html folder should also be full of Known files now.
Create a database for your site
Navigate back to the CPanel for your site.
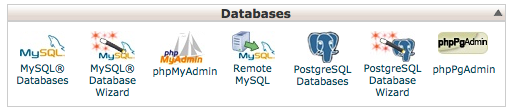
Choose the MySQL Database Wizard icon.
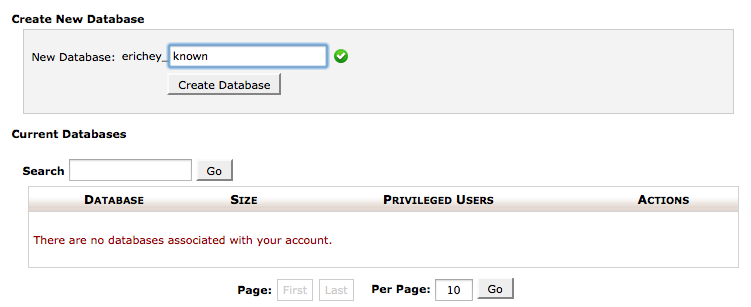
Now you're going to be creating a database for your website and a user for your database. You may want to write down the details that you choose here, because you're going to need to refer back to them a little later.
In the database wizard, give your database a name. It should have a database prefix listed. Mine is erichey_. I named my database "known" for clarity, but you can choose anything that you want.
Next, you need to create a user by setting a username and a password in the wizard.
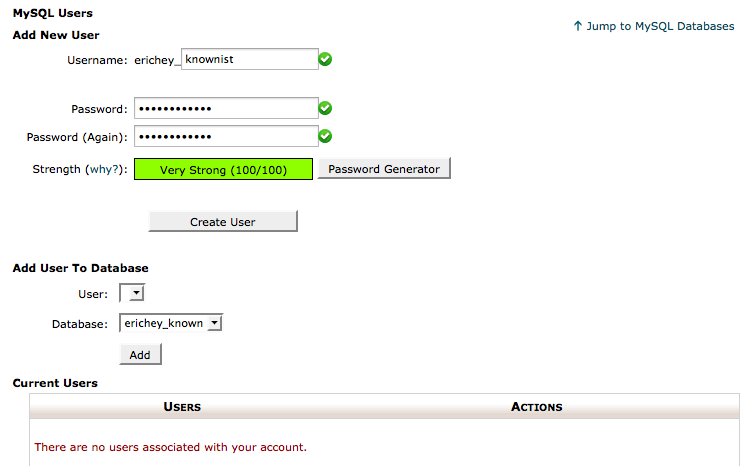
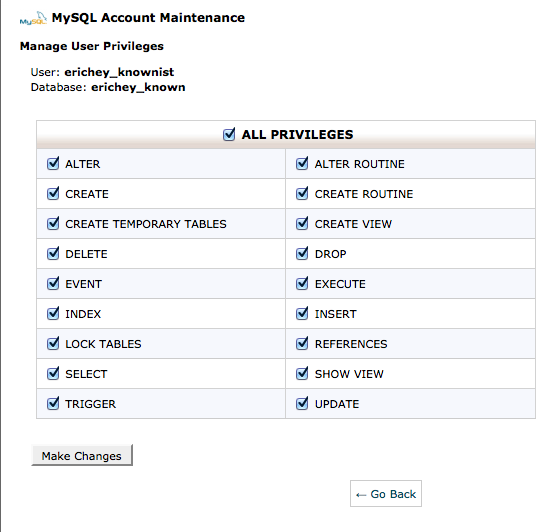
Once the database and the database user have been set up, you need to add them to the database. Select "All Privileges" for now to give your new user all of the database privileges.
Now you should be good to go!
Set up your site
Navigate to the URL of your website.
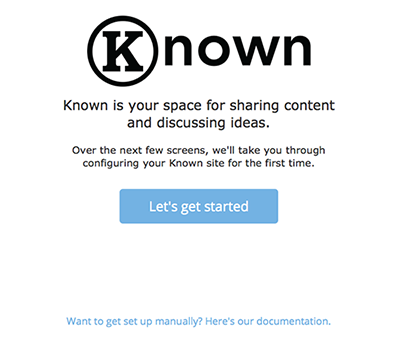
Your URL should forward to yourdomain.com/warmup/ and you should see a screen that says "Let's get started."
After you click the button, you should be on a requirements page. This page is a check to make sure your Arvixe space meets the requirements for Known. Known needs PHP 5.4 to work, so if you didn't set it in the first step, you won't be able to complete your install.
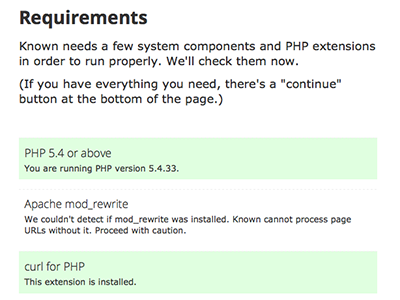
On the requirements page, green items are good and red items indicate that something isn't compatible. If you see a message that says it can't detect Apache mod_rewrite, you can continue anyway. Click the "Hooray!" button to move on.

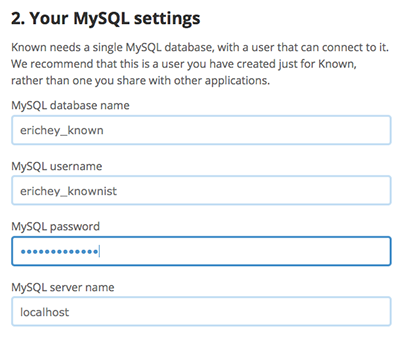
Now it's time to enter the database details that you recently set up.
First, name your new website. This will show up in the navigation of your site.

Next, enter in your database name (with the prefix), the database username (with the prefix), and the password. You can leave the field that says "localhost" as is.
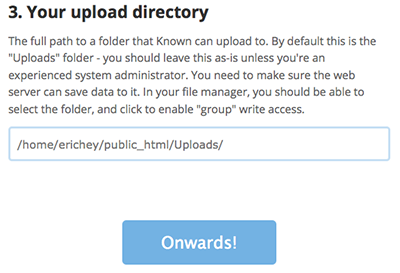
Under the section for "Your upload directory" leave the field as is.
If you didn't enter in the correct database name, username, or password, you'll get an error message saying that it can't connect to the database. If this is the case, you'll need to go back and enter in the correct details.

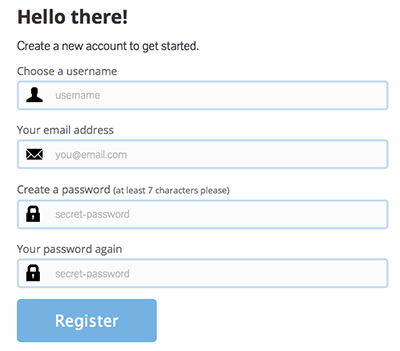
Create your user account
Now you should see a screen asking you to create a new user account. This will be your site's admin account. Fill out your details and make sure you include a relevant email address. Site notifications will be sent there.
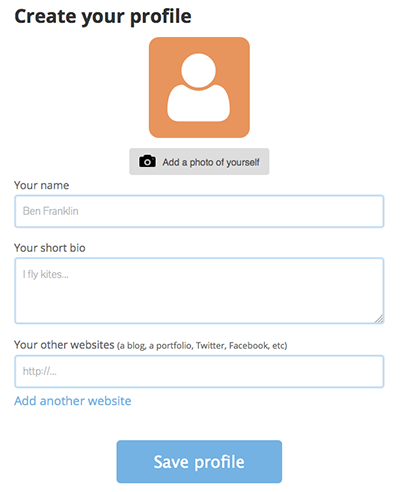
Once you've registered a new user account, you have an opportunity to fill out your profile. You can upload an image, add in a short bio, and include some of your websites. If you don't want to fill this out now, you can always come back and add these details in your site later.
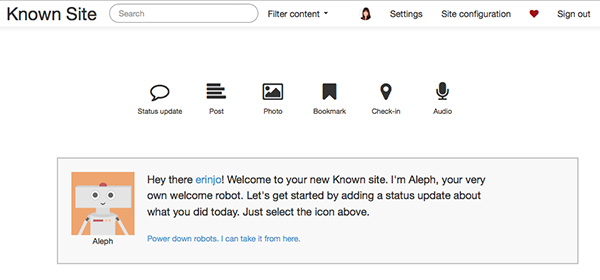
Once you've saved your user profile, you should be on the compose view of your new site! Now you can start publishing right away.
If you want to make more customizations, you can visit the "Site configuration" section to change some of the settings, change your theme, or invite other authors to join your site.
You're done!
Hooray! That's it. You're now the proud owner of a Known site running on Arvixe.
Now that you've got a site up and running, you may also want to create the social network plugins for your site. You can also sign up for Convoy if you want to bypass this step.
Congratulations on your new Known site!
This how-to guide was last updated on April 8, 2015.