Getting started
Reclaim Hosting is a hosting provider run by a team that knows Known well. Visit the Reclaim Hosting Known page to sign up for an account with Reclaim Hosting.
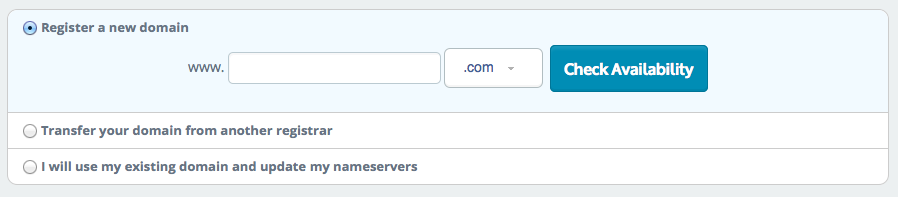
For a basic Known site, you’ll want to sign up for a shared hosting plan. During the signup process, you’ll be asked to register a new domain for your site. You can also transfer a domain that you’ve previously purchased from another domain name registrar.
Once you’ve created an account, you’ll have access to the Reclaim Hosting client area.
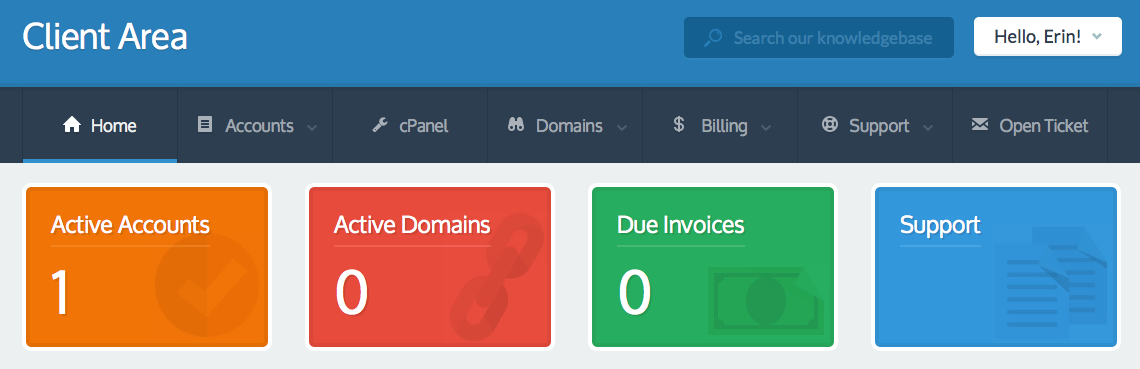
From the Client Area, navigate to the menu option that says “cPanel.” This will take you to the control panel for your hosting account.
Installing Known
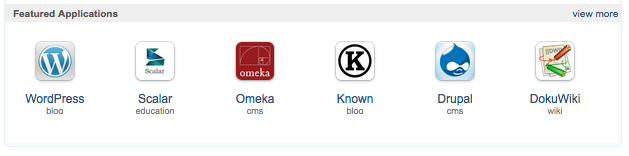
Once you’re in the cPanel for your account, navigate to the section titled Web Applications. You should see a row of “featured applications” with a link for installing Known.
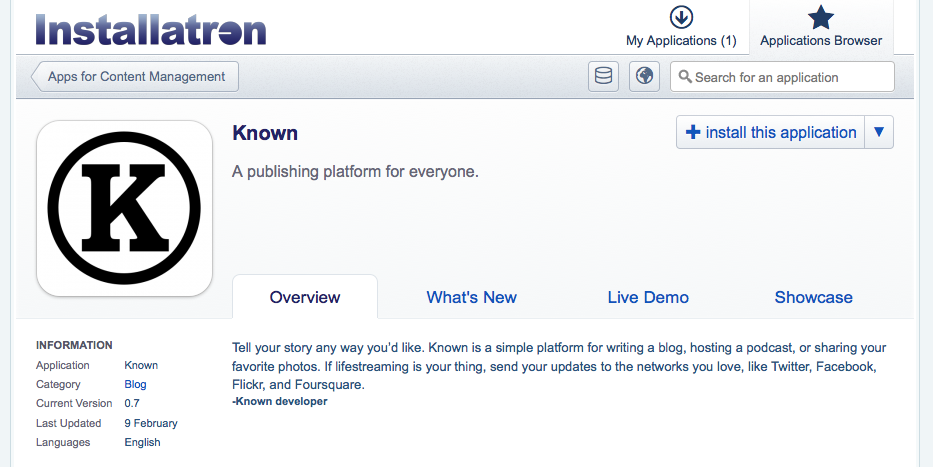
After you select Known, you’ll be taken to the Installatron install process. To start the install, select the button for “install this application.”
Next, you’ll be taken to a configuration page for your install. On the configuration page, you can choose options like having your site automatically updated by Reclaim and having automatic backups created.
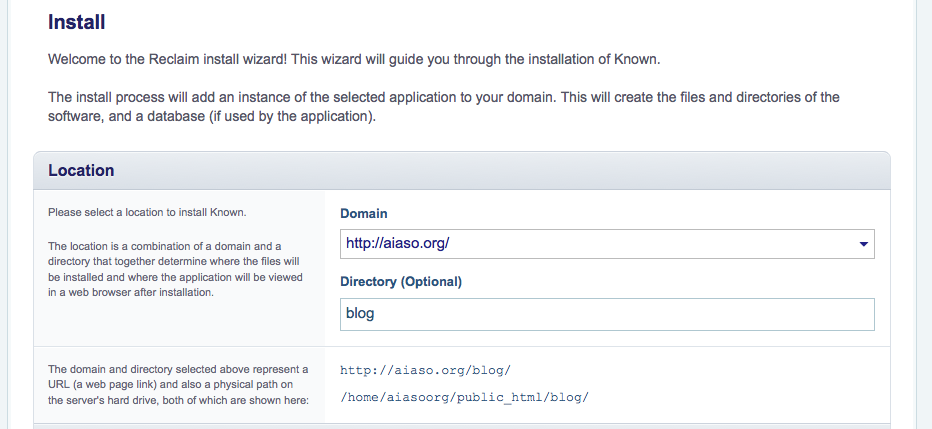
When you’re happy with the configurations, select install. Your Known site will be created for you.
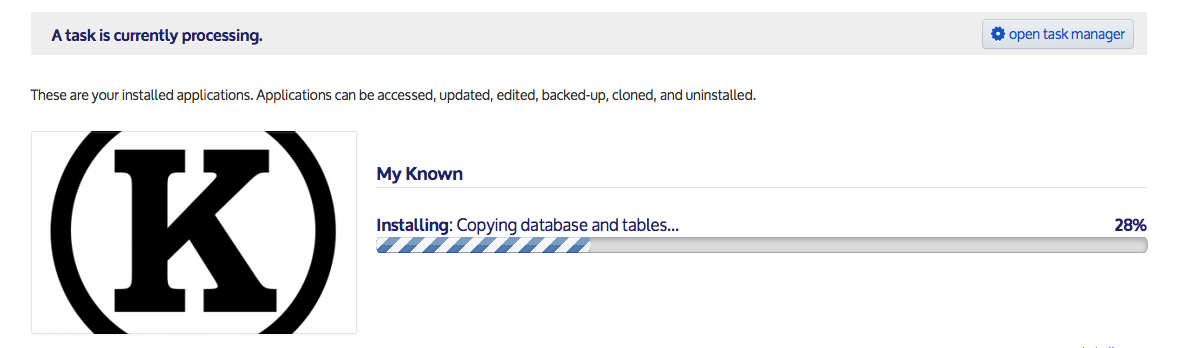
Once the install process is done, you should have something like this:

Create your admin user account
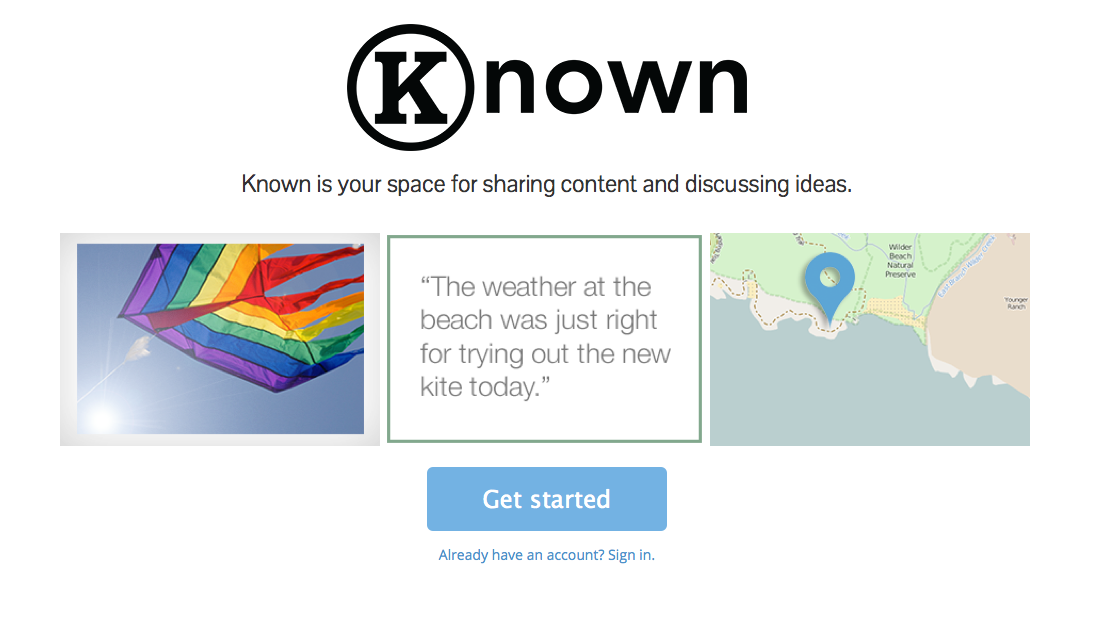
To log in and create your account, click the link to your site. You’ll need to create an admin account for your site to complete the signup process.
Choose the “Get started” button to begin the process.
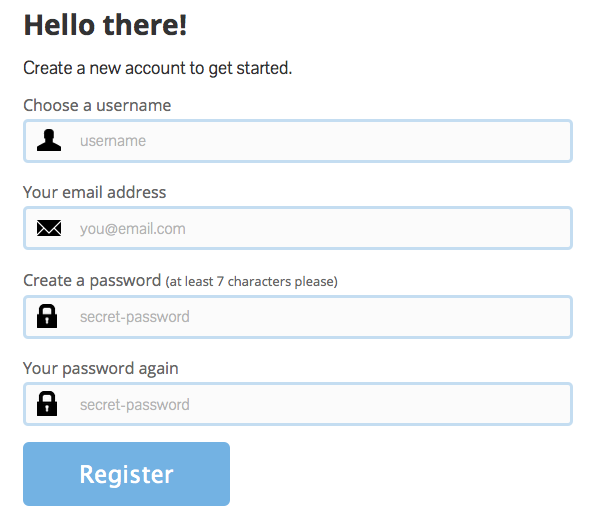
Next you’ll need to create an admin account by choosing a username, email address, and password.
Once you've registered a new admin account, you have an opportunity to fill out your profile. You can upload an image, add in a short bio, and include some of your websites. If you don't want to fill this out now, you can always come back and add these details in your site later.
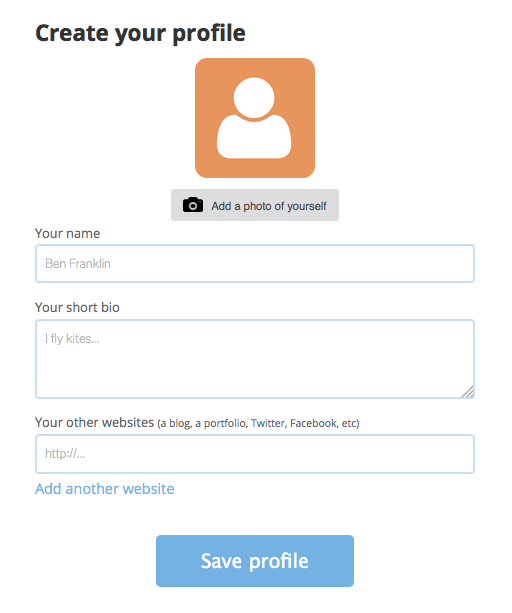
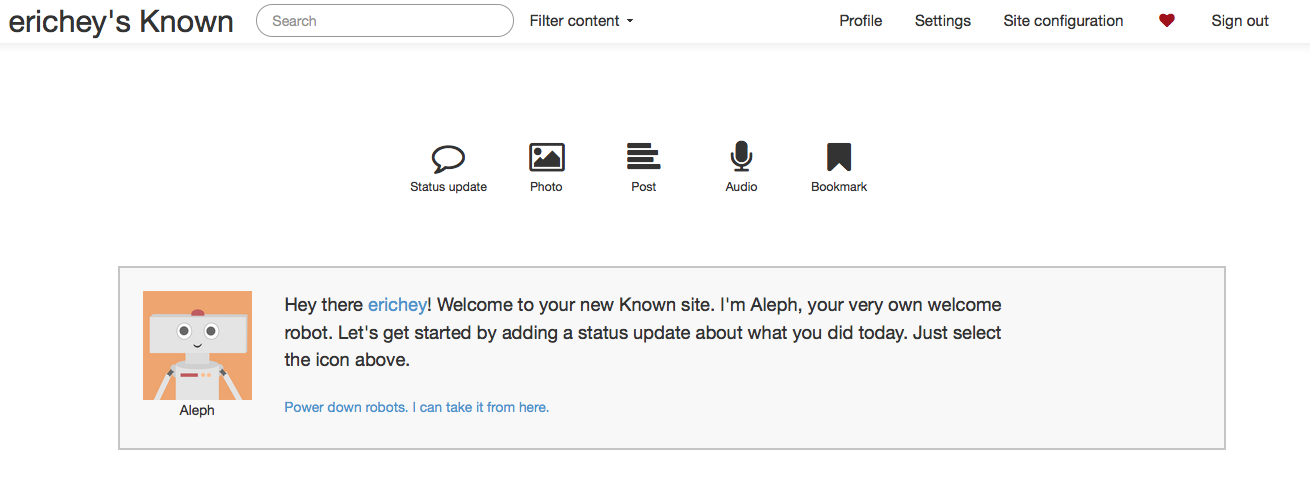
After you've saved your profile, you should be on the compose view of your new site! Now you can start publishing.
Customizing your site
Before you begin publishing, you might want to enable some plugins for your site. If you navigate to “Site configuration” and then to “Plugins” you’ll see a variety of plugins that you can enable for your Known site. Some might be enabled by default.
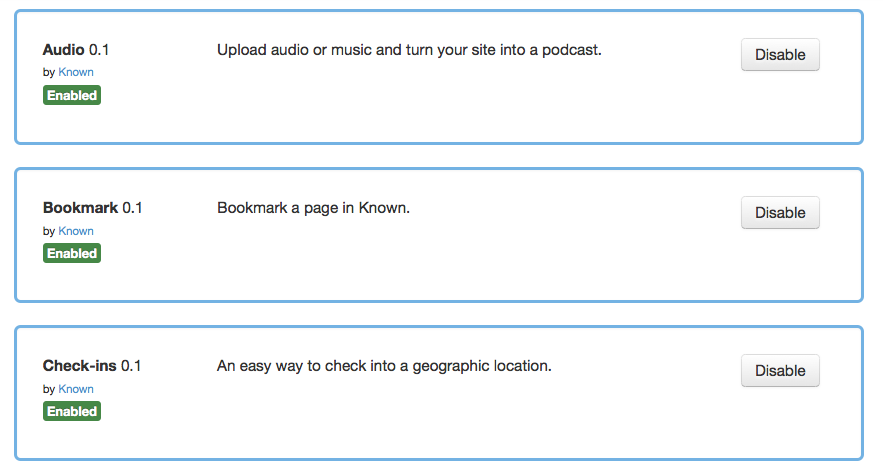
To publish a variety of types of content enable Audio, Bookmark, Check-ins, Photos, Status Updates, and Text Posts. These add publishing options to your main screen.

If you want to make more customizations, you can visit the "Site configuration" section to give your site a name, change some of the settings, change your theme, or invite other authors to join your site.
You also might want to enable the plugins for Static Pages, Custom CSS, and Custom JavaScript if you want more options for customizing your site.
You’re done! Hooray! That's it. You're now the proud owner of a Known site running on Reclaim Hosting.
You can also sign up for Convoy if you want an easy way to add social connections to your site.
Congratulations on your new Known site!
This how-to guide was last updated on April 9, 2015.